Last August I wrote a post showing how you could set up OpenFaaS on DigitalOcean with Kubernetes or Docker Swarm in 5 minutes. This week saw the culmination of a collaboration between DigitalOcean and the OpenFaaS community, which resulted in the general availability of an OpenFaaS one-click Droplet image. This makes it even easier to deploy OpenFaaS in the most cost-effective way with DigitalOcean.
We now have three well-documented ways to setup OpenFaaS for your team on DigitalOcean’s infrastructure:
- Deploy OpenFaaS to DigitalOcean’s Kubernetes Service (DOKS)
- Deploy OpenFaaS with Ansible with Kubernetes or Swarm
- Use the new one-click Droplet image available today (this post)
In this post we’ll guide you through creating your first OpenFaaS function using the one-click Droplet image which uses a single-node Docker Swarm cluster.
Pre-requisites
- A DigitalOcean account
You will need to use your DigitalOcean account. If you’re a new user then you can get credits of $100 over 60 days using this referral link. This is a generous amount of credit with the most economic Droplet size being just $5 a month.
- The OpenFaaS CLI
The OpenFaaS CLI (or faas-cli) is now a core piece of the OpenFaaS developer-experience and our users run it locally and in their CI jobs. We’ll use it to create and deploy our function onto your one-click Droplet. The OpenFaaS docs provide all the detail you need to get the CLI.
Create the Droplet
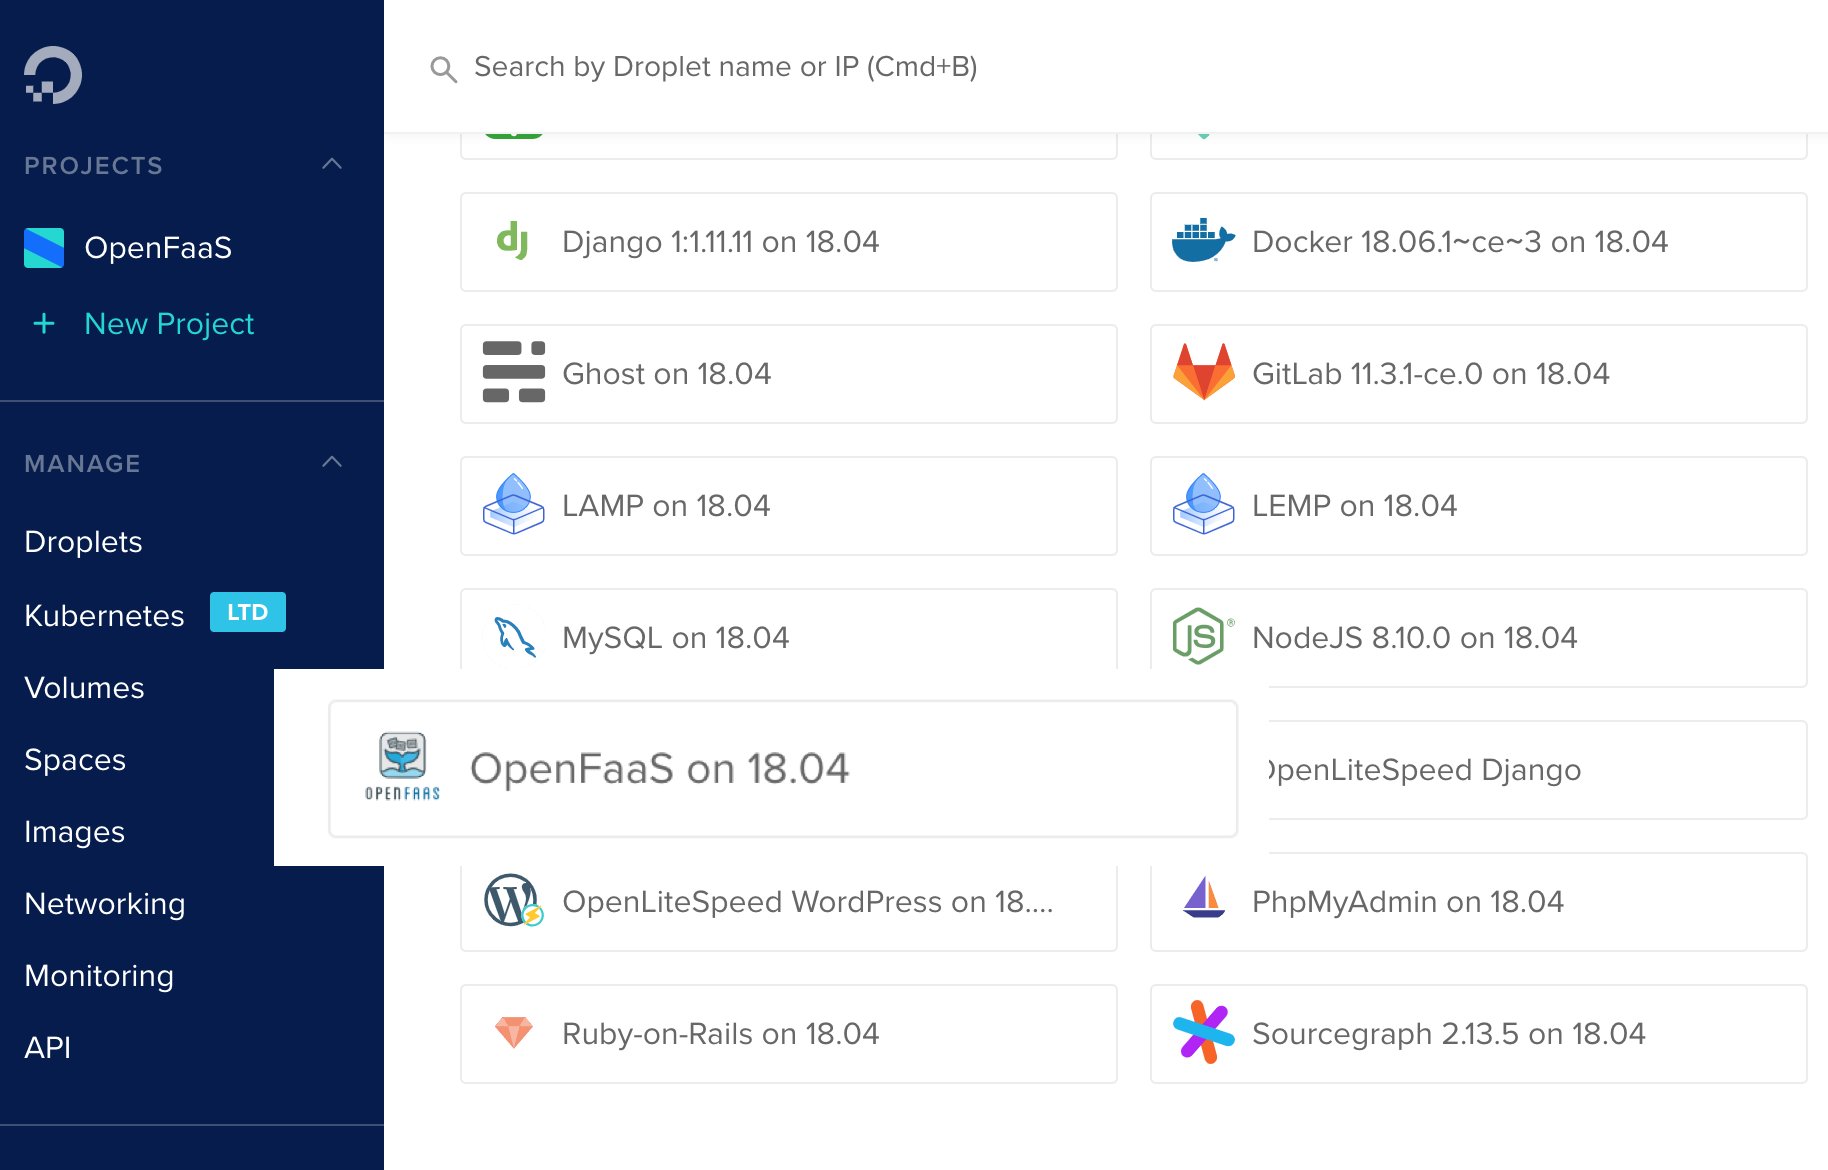
Log in to your DigitalOcean account and head over to the create button, which details the products currently being offered by DigitalOcean. The one-click apps reside under Droplets.

On the resulting menu select the one-click apps option which will present a number of one-click apps.

We’ll choose the one labelled OpenFaaS on 18.04. This will create a Swarm-based single node OpenFaaS instance on Ubuntu 18.04.

From here choose a Droplet size and region. You can run OpenFaaS on the cheapest node available for just 5 USD per month, but for the best experience and some future proofing I’d recommend 4 GB / 2 CPUs / 80 GB SSD. I tend to pick the region closest to me - being in the UK this is London. Finally, choose your SSH key - if you need to generate and add a new key then please follow the instructions on the previous blog. With your chosen configuration click Create.

Access your Droplet
Once your Droplet is ready it will appear in your list of Droplets within the DigitalOcean resources pane.

Copy the IP address and using your favourite terminal log in to the Droplet using root@<IP address>
Note: ensure you have made the appropriate private key available to the client you are using.
Once logged in follow the instructions; at the time of writing this is simply to press Enter.

A number of configuration actions will be performed for you, and the result will be a running Swarm-based OpenFaaS instance. Make a note of the credentials - in particular the final line which will set our credentials in the faas-cli - we’ll need this when we deploy our function. We can now close the connection to the Droplet.
- On your local machine set the
OPENFAAS_URL:
$ export OPENFAAS_URL=http://159.65.92.17:8080
To persist this setting add it to your
.bashrcfile or.bash_profile.
- Run the CLI login command:
echo -n 6acf4e5dc4997530666fece7be3e15e5a1b7ba9572163aa2beb8ff9449ee1911 | faas-cli login --username=admin --password-stdin
These will save us time and effort when we come to deploy our function to the Droplet.
Create a function
We’re going to create a simple Python function that when invoked echoes back a string.
- Create a workspace for our function:
$ mkdir -p ~/openfaas/functions/ && cd ~/openfaas/functions/
- Create a function called
hello-digitaloceanusing the CLI:
Replace the
rgee0prefix with your own Docker hub account name so as to enable the ensuingpushaction.
$ faas-cli new --lang=python3 --prefix=rgee0 hello-digitalocean

faas-cli new --lang=python3 --prefix=rgee0 hello-digitalocean
2019/02/02 11:42:08 No templates found in current directory.
2019/02/02 11:42:08 Attempting to expand templates from https://github.com/openfaas/templates.git
2019/02/02 11:42:10 Fetched 15 template(s) : [csharp csharp-armhf dockerfile go go-armhf java8 node node-arm64 node-armhf php7 python python-armhf python3 python3-armhf ruby] from https://github.com/openfaas/templates.git
Folder: hello-digitalocean created.
  ___                   _____           ____
 / _ \ _ __   ___ _ __ |  ___|_ _  __ _/ ___|
| | | | '_ \ / _ \ '_ \| |_ / _` |/ _` \___ \
| |_| | |_) |  __/ | | |  _| (_| | (_| |___) |
 \___/| .__/ \___|_| |_|_|  \__,_|\__,_|____/
      |_|


Function created in folder: hello-digitalocean
Stack file written: hello-digitalocean.yml
- Edit
hello-digitalocean/handler.pyto add our function’s code:
def handle(req):
    """handle a request to the function
    Args:
        req (str): request body
    """
    return 'Hello from OpenFaaS on DigitalOcean!'
- Save the handler and run
faas-cli upto build, push and deploy:
$ faas-cli up

[0] > Building hello-digitalocean.
Clearing temporary build folder: ./build/hello-digitalocean/
Preparing ./hello-digitalocean/ ./build/hello-digitalocean/function
Building: rgee0/hello-digitalocean:latest with python template. Please wait..
Sending build context to Docker daemon  8.192kB
Step 1/25 : FROM python:2.7-alpine

...

Successfully built 724a2e96754b
Successfully tagged rgee0/hello-digitalocean:latest
Image: rgee0/hello-digitalocean:latest built.
[0] < Building hello-digitalocean done.
[0] worker done.

[0] > Pushing hello-digitalocean [rgee0/hello-digitalocean:latest].
The push refers to repository [docker.io/rgee0/hello-digitalocean]

...

latest: digest: sha256:03ec049a59bd784a152ca3df8fcdffd97ab0dcb4392e0c2811ee5dcb4180ca2d size: 3655
[0] < Pushing hello-digitalocean [rgee0/hello-digitalocean:latest] done.
[0] worker done.

Deploying: hello-digitalocean.

Deployed. 202 Accepted.
URL: http://159.65.92.17:8080/function/hello-digitalocean
As we earlier logged the CLI in to our Droplet and also set the
OPENFAAS_URL, the CLI will seamlessly target the Droplet. In order to push to Docker hub you will also need to be logged in to your account there.
- Invoke the function using the
faas-cli:
$ echo '' | faas-cli invoke hello-digitalocean
Hello from OpenFaaS on DigitalOcean!
Access the UI to see the deployed function by visiting http://159.65.92.17:8080/ui/. You’ll need the credentials from earlier in order to access the site.

From here you can also invoke the function - simply click on the invoke button; you’ll notice the invocation count increase as you do. You can also deploy from a set of ready-made functions via the OpenFaaS store - Click on Deploy New Function to see what’s available.
Wrapping up
We’ve taken our first steps into creating a function using DigitalOcean’s OpenFaaS one-click application. The in-built configuration created a Docker Swarm based publicly accessible instance with basic authentication enabled by default. We’ve looked at how the OpenFaaS CLI can be used to build our functions and deploy them to a remote instance by setting the OPENFAAS_URL.
This is great as a starting point to quickly getting hands on with OpenFaaS. With an instance up and running you are ideally placed to work through the OpenFaaS Workshop. If you’ve followed this article fully then you should be able to skip straight on to Lab 2 - remember to substitute any workshop references to 127.0.0.1 with the IP address of your Droplet.
Keep learning
Taking it further we could look at how to configure a domain name to point at the instance and enable transit encryption through use of a service like Let’s Encrypt.
Get in touch
Do you have questions, comments or suggestions? Tweet to @openfaas.
Want to support our work? You can become a sponsor as an individual or a business via GitHub Sponsors with tiers to suit every budget and benefits for you in return. Check out our GitHub Sponsors Page
Contribute
Learn how to contribute to OpenFaaS on YouTube

